Essential Snowboard Gear for a Trainee Instructor or Seasonaire
Preparing to spend a season in the mountains takes a fair bit of thought. Not only will you need the everyday essentials like a laptop (to keep up to date with Facebook and to watch every box set under the sun) a passport, and a change of clothes; but if you’re a snowboarder you’ll also need to take with you some snowboard equipment. Below is a comprehensive list of the ten items that we believe trainee snowboarder instructors and seasonaires should take to the mountains this winter.
1) Snowboard & bindings
Buying a snowboard isn’t a straight-forward process. There are literally hundreds of boards on the market and with so much technical jargon and multiple random words often used to describe the same thing it can all get a bit confusing. Don’t worry because we’re here to help! Although we can’t tell you the exact board to buy, because we’re all built differently and ride a snowboard in different ways, we can tell you what board characteristics to look out for when buying a board for an instructor course:
Length: When buying a snowboard for an instructor course it’s advisable that you don’t buy something that is too long or too short. Too long and it’ll be a nightmare for demonstrating at low speeds, and using in the park. Too short and it won’t perform well in the off-piste or be stable-enough for high-end piste-performance and carving. As a general rule, if you have a healthy BMI (body mass index) you should purchase a board that, when placed vertically with the tip or tail on the floor, the opposite end should sit level your chin or mouth. Please be aware that a persons’ weight can have a big effect on the length of board they should buy.
Width: When buying a snowboard it’s important that you buy a board that is wide enough for your feet. With binding angles of +/- 15 on the front and back you should look at a mid-wide board if your feet are above size 9.5 UK. If your feet are above 10.5 UK then you should consider purchasing a wide board.
Twin / Directional Twin / Directional / Freeride: The aforementioned words refer to the shape of the board. Specifically: the shape of the sidecut; the boards flex; the position of the binding inserts; and the shape of the nose and tail. When purchasing a board to take your instructor exams on it is advisable that you look for a board with either a twin or directional twin shape.
– A Twin shape board is the same shape at both ends (as the name would suggest), the binding inserts are equidistant from the nose and tail, and the flex is consistent throughout with the same amount of flex in the nose and the tail. Twin boards are for those riders who spend a lot of time in the park and ride switch all the time.
– When a board is a directional twin it generally means that although the board will have a twin-shaped sidecut and shape, the flex may be directional (softer in the nose than in the tail) and the stance may be set back slightly. A set back stance means that the binding inserts are a little closer to the tail, than the nose. Directional twin snowboards are for those riders that like to ride the whole mountain, including the park, but spend less time hitting rails.
Profile: The profile of a board is the way that the board sits on the ground. It’s here that buying a board becomes a little more complex. Mainly because almost every snowboard company in the industry has a completely different name for each profile they use. In short, all you need to know is that there are 4 types of profile:
– Camber. Camber is the original ski and snowboard profile and exists when a board bows upwards from the beginning of the effective edge to the middle of the board. Camber makes the board stiffer both longitudinally (along the board) and laterally (across the board) it can also make the board poppy and hold a strong edge in a turn.
– Zero Camber. As the name would suggest a zero camber board has no camber and when the board is placed with its base on the floor it will sit completely flat. Zero camber boards are often easier to jib around on but still hold a good edge in the snow. In most cases they don’t have as much pop or power in turns as a cambered board.
– Rocker. There are more names for the ‘rocker’ profile than there are surnames in Wales, fact. You may have heard rocker being called ‘Banana’, ‘Chilli Dog’, ‘Jib Rocker’, ‘Reverse Camber’ or ‘Rocka’…….the list is endless! In essence they’re all the same thing but with varying degrees of angle. If you were to place a rocker board on the ground it would normally pivot in between the feet. Rather than bending upwards from the start of the effective edge a rocker profile does the opposite and bends downwards. This makes the board bend/flex more easily and gives the board a looser, less-catchy feel when being ridden. Most rocker boards are excellent for learners and are great fun to ride in the park and in powder (due to the added float created). Although there are exceptions to the rule we believe rockered boards do not make ideal snowboards for an instructor examination because they are not as stable and do not hold an edge as well as the other profiles mentioned.
– Hybrid Profile. For the past 5 years snowboard design has progressed a lot. At the forefront of this progression has been the development of profile design. Snowboard manufacturers realised that a snowboard didn’t have to be camber, rocker or flat but it could be a combination of all three. This realisation has enabled snowboard manufacturers to play around with profile design and create boards that combine the best qualities of all of the previously mentioned profile types. Although some people will always prefer to ride either camber, rocker or zero camber the vast majority of people will buy one board to ride the whole mountain and switch between riding styles. Jibbing one minute and freeriding the next! It’s fair to say that hybrid profiles are the best for this.
Base: There’s nothing more annoying than having a slow board. With a slow base you’ll struggle to make it along flat sections of piste and you’ll undoubtedly struggle to find the right speed when hitting jumps. To save yourself from having a physical relationship with the knuckle of every jump in the snowboard park buy yourself a board with a decent high-grade sintered base. More importantly, ensure that you regularly hot wax your board.
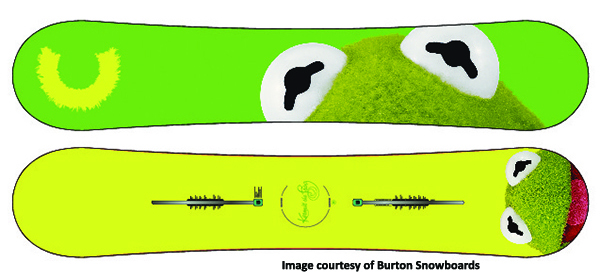
The Burton Custom has a ‘Flying V’ profile which uses both rocker and camber. The Custom Flying V is a very popular board with instructors because of its versatility.
2) Boots
Boots are probably the easiest bit of snowboard equipment to buy; if they fit snuggly and there’s no heel-lift then they’re probably the right pair of boots for you. As the name would suggest ‘heel-lift’ is when your heel is not anchored properly and lifts in the bottom of the boot. Heel-lift is a problem because it can cause rubbing and blistering on the back of the heel and means that there is less response underfoot.
When buying boots ensure that you try-on a few pairs from different brands before you buy. Boots from different manufacturers fit different shapes of feet and you won’t get a good idea of what a ‘good’ fit is before you’ve tried a few pairs on. Whatever you do; if you’ve never tried a specific pair of boots on don’t go and buy them on the internet in the hope that they’ll fit…..because they probably won’t. Today the majority of snowboard boots aren’t too stiff because the type of riding that most people do doesn’t rely on having a stiff boot and a good pair of bindings should give you adequate support and response.
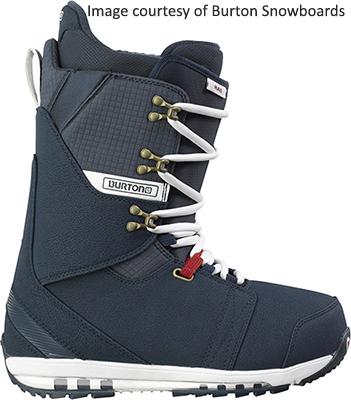
Burton Hail 2013
3) Outerwear
We can’t overemphasise the importance of having good quality waterproof outerwear. As an instructor you’ll be up on the mountain in all types of conditions and good outerwear can make the difference between remaining warm and dry or being soaking wet and freezing cold. Although the vast majority of snowboard schools will provide you with outerwear as a uniform it’s important that you have your own outerwear for training and days off work.
When purchasing a snowboard jacket ensure that the jacket you buy comes with a powder skirt, has a hood, has a good waterproof and breathability rating and has suitable ventilation. As a guide: 10k waterproof and 10k breathability is what you should look for as a minimum. Materials like GoreTex are normally used for high-end, expensive outerwear and offer first-class performance. It is also advisable that you purchase a jacket that isn’t too thick and heavily insulated; you can always add additional layers underneath if it’s really cold. Down jackets are designed for really cold conditions and will get you hot and flustered on a warm and sunny afternoon. Snowboard jackets tend to be a little longer than normal ski jackets, mainly because long jackets are fashionable minute but also because it’s scientific fact that as a snowboarder you’ll be sat on your backside for a surprising amount of time.
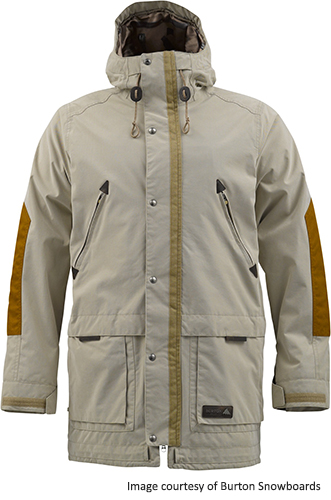
The 2013 Burton Faceshot Jacket……….very tasty!
4) Avalanche Safety Gear
During your season in the mountains you’ll constantly be tempted to ride fresh off-piste powder. As snowboarders riding fresh powder is what we live for! Just remember that diverting as little as a few meters off the side of a slope can prove fatal. We recommend that you never ride off piste unless with a qualified guide:
A) Always check the Avalanche conditions posted by the resort. Most resorts use a series of flags to illustrate the risk. Never ride the off-piste when the Avalanche risk is high, unless you are with a highly qualified guide.
B) Never ride on your own and always ensure that the people you take with you are strong-enough riders or skiers. Never ride a face as a group; ride slopes individually and ensure that group members stop in safe and sheltered places once they have finished their run.
C) Never ride a face that is well known to avalanche.
D) Purchase some decent Avalanche equipment and learn how to use it before you head off-piste. Essential equipment for anybody riding off-piste is a backpack, Avalanche transceiver, probe and shovel. If your budget can stretch to it then look at an ABS bag and an Avalung; these may increase the likelihood of you being found alive. Remember the best form of protection is to make considered and educated decisions about when and where to ride off-piste.
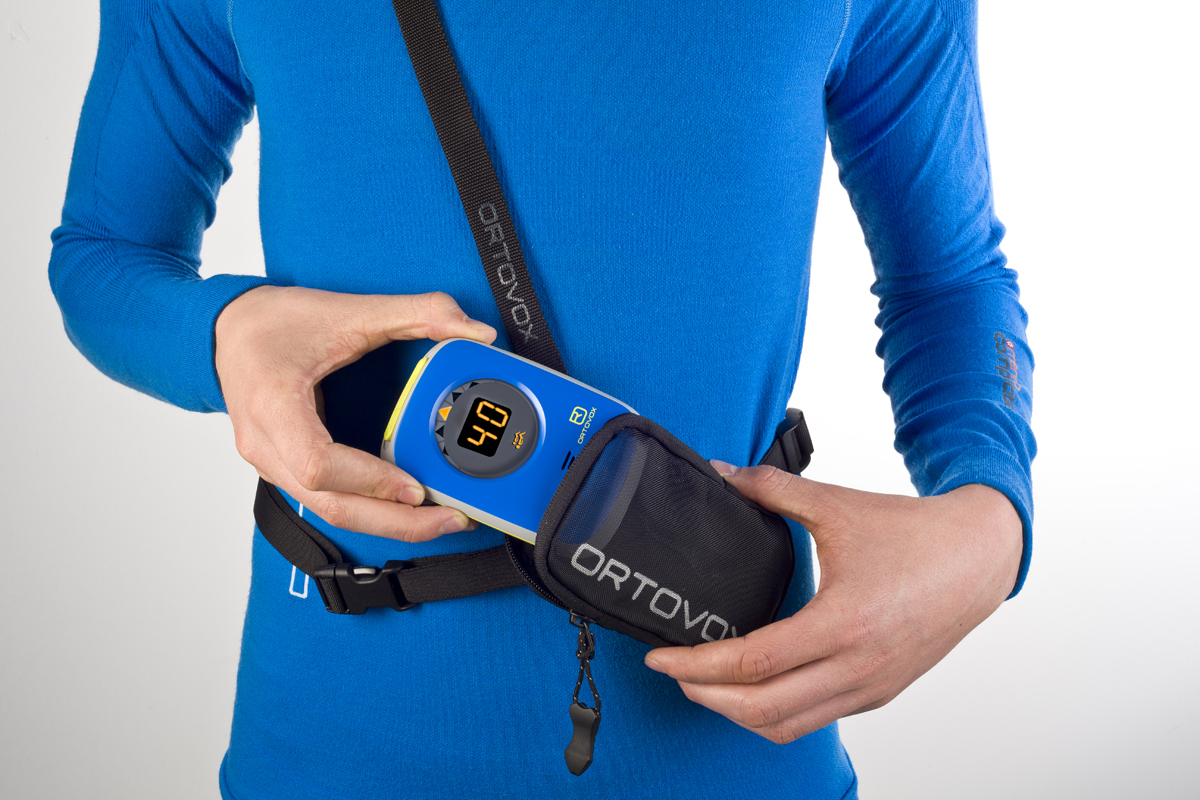
Image courtesy of Ortovox
All Peak Leaders trainees can purchase discounted Avalanche Safety equipment from Ortovox, the market leader in Avalanche Safety equipment. On all of our snowboard courses Peak Leaders trainees will receive a day of Avalanche Safety training. This training involves learning about; what creates unstable conditions, the dangers of Avalanches, and how to use Avalanche Safety equipment in a mountain environment.
5) A pair of UV protective Goggles
There are numerous goggle manufacturers out there and although it’s tempting to buy a pair of goggles based purely on the way they look there are a few things that might make your life a little easier and guarantee you have the best visibility possible.
– Lens shape. There are two ways in which a lens can be made; cut from a flat sheet and bent to shape or cut from a spherically shaped mold. Spherically shaped lenses are considerably more expensive but will give you more visibility and less distortion.
– Lens type. Different lenses are manufactured for different light conditions. Some mirrored lenses will only perform well in really bright light and will leave you with very poor visibility in low light conditions, for instance at the end of the day or in a whiteout. Polarised lenses will add definition and shadow to snow cover and some more expensive goggles may have lenses that change with changing light conditions. Always ensure that your goggles have a double lens system.
– Shape. Although big goggles are very popular at the minute it is important to buy a pair of goggles that fit your face. There are all different shapes and sizes available so make a sensible choice. If you wear a helmet it is worth checking whether the goggles you buy are helmet compatible.
– Anti-fog. There’s nothing more annoying than falling over in powder and filling the inside of your goggles with snow. If your goggles don’t have a decent anti-fog system then you’ll probably be wearing those goggles on the top of your head for the rest of the day!
– UV Safety. Only buy goggles that are UV protective.
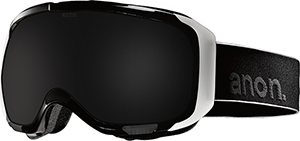
Image Courtesy of Anon Optics
6) A helmet
Head injuries although not as common as some other injuries are still too prevalent in ski resorts and can be prevented by the use of a helmet. All the cool kids and pro riders now wear helmets so wearing one is no longer a crime against fashion. When purchasing a helmet ensure that it; complies with manufacturing standards, fits snug and has sufficient ventilation for those warm days on the mountain.
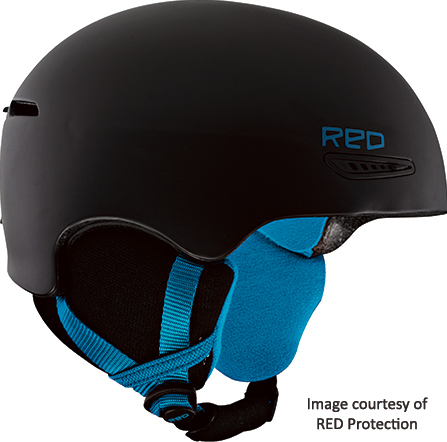
This could save your life!
7) A pair of good quality leather and Gore-Tex gloves
Keeping warm on the mountain is key to being an instructor. It is normally either your feet or hands that will begin to get cold first so it is important that you wear a well insulated pair of gloves that stay dry. We would advise spending a bit of extra money and getting a pair of gloves that use either leather or Gore-Tex , or a combination of both. Gloves made from the aforementioned materials will stay dry and warm for longer and will last longer than a pair of cheap gloves. With leather gloves it is important to treat the leather with a waterproofing wax like Nikwax.
A lot of instructors prefer to snowboard with gloves rather than mitts as they are more dexterous which is helpful when you have to make adjustments to a clients equipment or point in a direction.
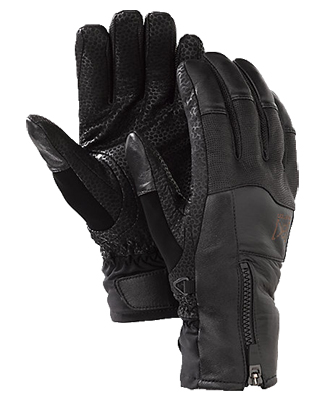
Image courtesy of Burton Snowboards
8) A Neck Warmer
This may not sound particularly important but having a good neck warmer can be a godsend when the wind is howling. They’re only cheap and they’re one item that the experienced instructors won’t leave home without.
9) Thermals and decent socks
Again this is fairly self-explanatory. Good snowboard-specific socks will keep your feet warmer and are less likely to cause discomfort or blistering because they have been designed with forward lean.
Thermals are also a great idea because they are normally very thin but hold heat better than normal clothing and are breathable so you won’t sweat as much. Having more than one set of thermals is essential because they can really start to smell if you don’t wash them!
10) Snowboard Maintenance Equipment
As you’ll be in resort for an entire season it’ll get expensive if every time you need to fix, wax or edge your board you take it to a shop. Obviously when your board sustains some serious damage then it’s best to let the professionals fix it but most of the time you can do it yourself. Below is a list of things to purchase before you head out to resort:
A) Wax – There are loads of wax manufacturers out there but if you want a fast wax you need to ensure that it is has been designed for the snow/outdoor temperatures you’ll be riding it in. You shouldn’t be using the same wax in January as you use in April. Secondly, ensure that the wax has a high amount of hydrocarbons or fluorocarbons; these make the wax faster.
B) Waxing Iron – To get the base of your board to absorb wax you’ll need to melt the wax and spread it over the base of your board. You do this using a waxing iron. Companies like Toko make square-shaped irons with temperature ranges specifically for certain types of wax. Nevertheless you can use a normal iron, as long as it doesn’t have holes in the bottom for spraying water. Remember not to set the temperature of your Iron too hot and ensure you don’t leave it in a static position on your board for too long because you’ll melt the base of your board if you do.
C) Perspex Scraper – Once the wax has been melted, evenly spread over the base of your board and left for a few hours it’s time to scrape it off. The best tool to do this with is a Perspex scraper; this resembles a Perspex ruler but is thicker and less flexible.
D) Structuring Brush – Once you’ve scraped the majority of the wax off of your board you’ll need to structure the remaining thin layer. To do this you’ll need a structuring brush. A structuring brush consists of a hard metal brush on one half, and a soft brush on the other.
E) Edging Tool – To ensure your edges stay sharp, or beveled, you’ll need an edging tool. All you jibbers out there might want to purchase an edge file to keep your edges nice and blunt for riding rails.
F) Araldite – If you damage the sidewall or top sheet of your board it’s important that you fix the board immediately and seal any cracks or dents to prevent water damage. The best tool for doing this is Araldite, an epoxy resin that solidifies quickly and stays nice and solid.
G) Miniature G-Clamp – This is a useful tool to have if you’re going to be gluing bits of snowboard or binding back together. It will save you holding the item of equipment in the same place for 12 hours!
I) P-Tex – P-Tex is the material that shops use to fill holes and gashes in damaged snowboard bases. P-Tex comes in thin narrow cylindrical shapes that are designed to fit into a glue-gun type instrument. If you’re on a budget it is possible to melt P-Tex with the blue flame of a lighter but make sure you that somebody shows you how to do it first. There are two colours of P-Tex available and these are back and transparent, only purchase black P-Tex if the base of your board is black otherwise your repair job will look hideous! To ensure that your P-Tex filling has a nice clean finish you should use a metal P-Tex scraper.
All snowboarders that attend a Peak Leaders course can purchase Burton snowboard equipment at a highly discounted rate. This discount not only applies to snowboards, snowboard boots and bindings but trainees can also purchase discounted outerwear, bags, gloves, Anon goggles and R.E.D protective gear.


You must be logged in to post a comment.